Help Center
Advice and answers from the EPROLO team
How to Set up Customized Products?
1. Import Customized Products into Shopify Store
Customize Text Products
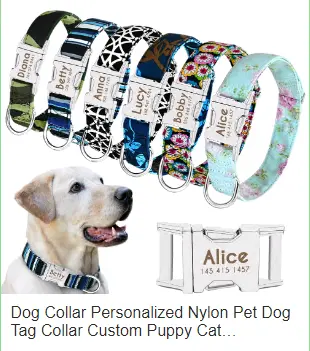
Customize Image Products

2. Edit Code
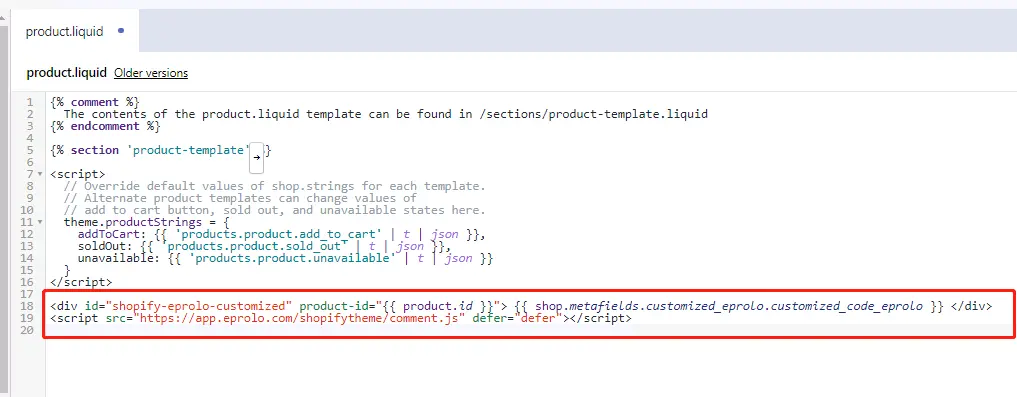
2.1 Open menu: Online Store–>Themes–>Action–>Edit Code–>Templates–>product.liquid
Add the following code to the bottom of product.liquid :
<div id="shopify-eprolo-customized" product-id="{{ product.id }}">
{{ shop.metafields.customized_eprolo.customized_code_eprolo }} </div>
<script src="https://app.eprolo.com/shopifytheme/comment.js" defer="defer"></script>
2.2 Get Your Product ID
Products–>All products —>Editing Product: Get the product ID in the browser head

2.3 Open menu: Online Store–>Themes–>Action–>Edit Code–>Sections–>product-template.liquid
Adding the customized code before button AddToCart
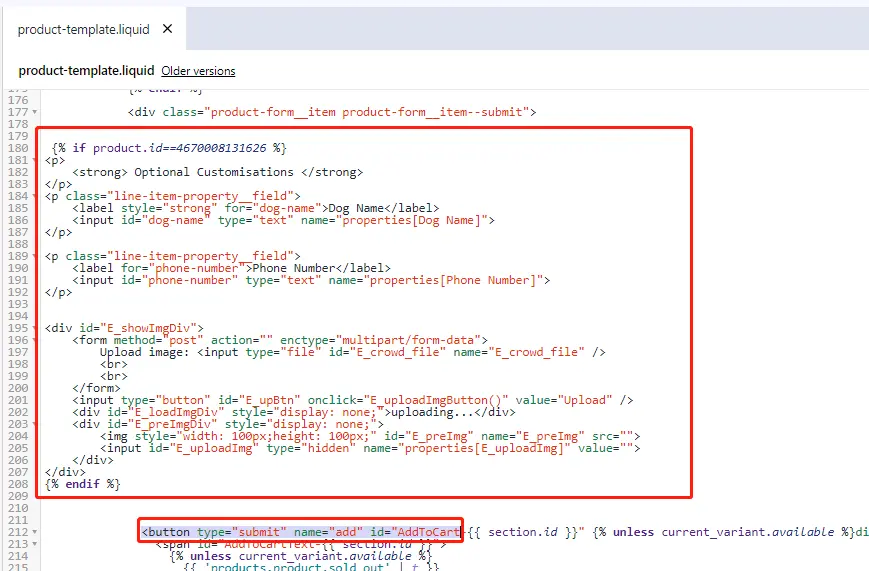
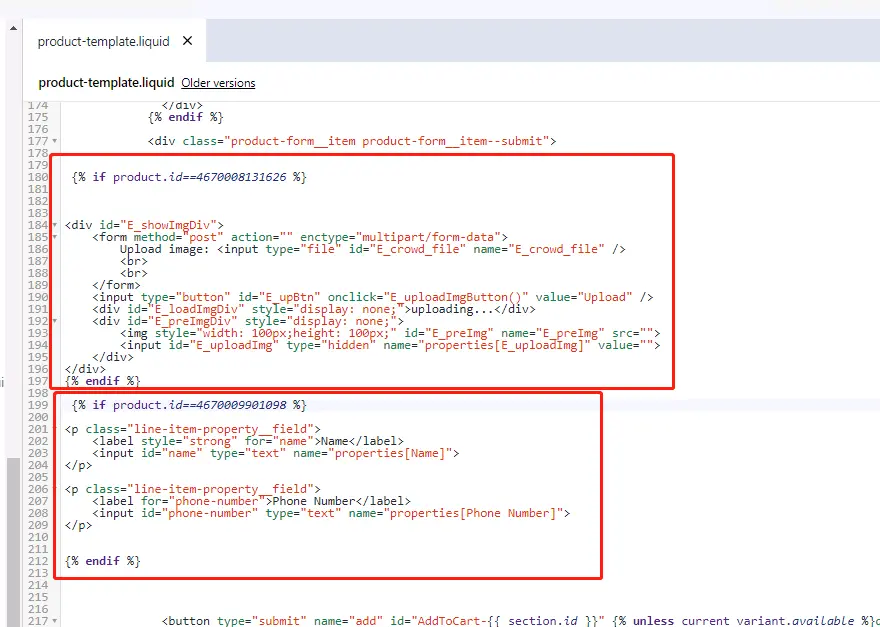
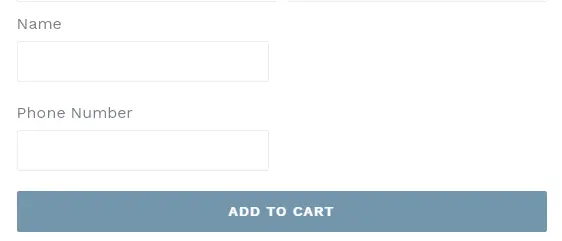
- Customize Text Code ( Replace the red part with your product ID. ):
{% if product.id==4670008131626 %}
<p class="line-item-property__field">
<label style="strong" for="name">Name</label>
<input id="name" type="text" name="properties[Name]">
</p>
<p class="line-item-property__field">
<label for="phone-number">Phone Number</label>
<input id="phone-number" type="text" name="properties[Phone Number]">
</p>
{% endif %}

- Customize Image and Upload Code ( Replace the red part with your product ID. )
{% if product.id==4670008131626%}
<div id="E_showImgDiv">
<form method="post" action="" enctype="multipart/form-data">
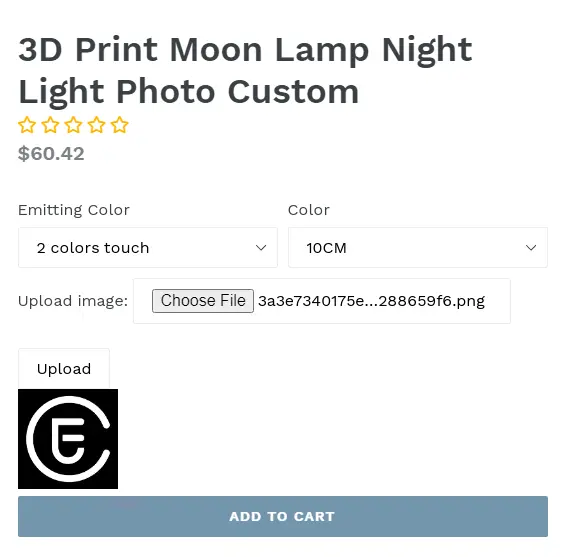
Upload image: <input type="file" id="E_crowd_file" name="E_crowd_file" />
<br><br>
</form>
<input type="button" id="E_upBtn" onclick="E_uploadImgButton()" value="Upload" />
<div id="E_loadImgDiv" style="display: none;">uploading...</div>
<div id="E_preImgDiv" style="display: none;">
<img style="width: 100px;height: 100px;" id="E_preImg" name="E_preImg" src="">
<input id="E_uploadImg" type="hidden" name="properties[E_uploadImg]" value="">
</div>
</div>
{% endif %}
3. Several Customized Products
When there are several customized products, just add a few copies of the same code. All you need to do is to change the product ID.
